Print on demand
How to Design a T-Shirt That Sells: A Practical Beginner's Guide
A practical guide to designing a t-shirt that sells: find an idea and audience, use Canva or Procreate, prep a print file, and test with print on demand.

To design a t-shirt that sells, start from an idea that speaks to a specific audience, build it in a suitable tool like Canva, Illustrator, or Procreate, prepare a correct print file at 300 DPI with a transparent PNG background inside the print area, choose colors and placement that serve the idea, preview it on a realistic mockup, and finally test it with print on demand before any bulk order. A t-shirt that sells is not the most artistic one, it is the one with the clearest message and the cleanest execution. An idea your audience gets in a second, a file that prints with no surprises, and a real test before you commit to any quantity. Below are six steps that take you from an idea in your head to a design ready to sell, plus the print-file basics that trip up most beginners.
Before you open any software: the idea and audience
The designs that fail most are the pretty ones that speak to no one. A winning t-shirt carries a message a specific audience is proud to wear: an inside joke a field understands, a city's emblem, a phrase tied to a hobby or a lifestyle. Start with one question: who will wear this and why? If the answer is not clear, the design is not ready yet. A narrow audience is easier to reach and truer in its buying than "everyone". Gather ideas from your real community, not only from trending design pages, because authenticity sells more than imitation.
Six steps to design a t-shirt that sells
- Define the idea and audience. Write in one sentence who the buyer is and what the message says. A clear idea shortens every decision that follows, from the typeface to the color to the placement.
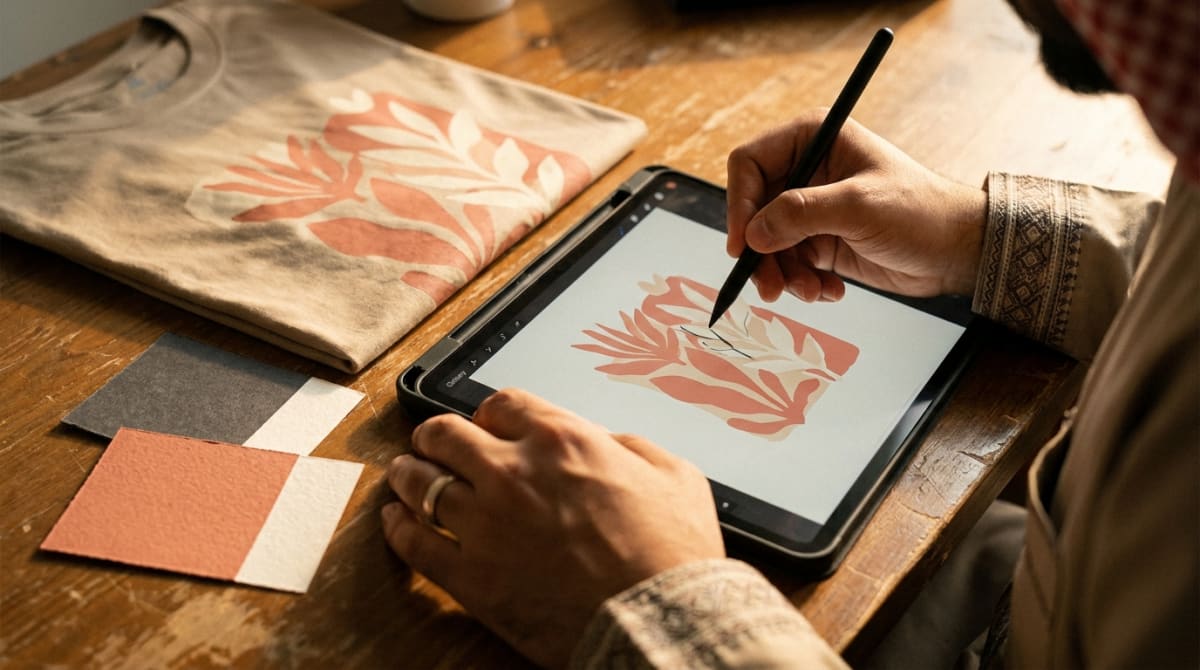
- Choose your design tool. With no experience, start in Canva, it is simple and fast. For hand drawing on an iPad, use Procreate. For professional work, use Illustrator, because it makes vector art that scales to any size without losing quality.
- Prepare the print file correctly. Export at 300 DPI at the actual print size, as a PNG with a transparent background, and stay inside the print area (about 30 by 40 cm on the front). Design on a canvas around 4500 pixels wide, not smaller.
- Choose colors and placement. Balance the design color against the fabric color with clear contrast, and keep the color count low so it prints cleaner and reads from a distance. Test placements: full chest, small left chest, or back.
- Preview it on a mockup. Put the design on a realistic t-shirt image before printing so you see the size and placement through the buyer's eyes. A mockup catches scale and contrast mistakes early and for free.
- Test it with print on demand. Print one or two pieces, list them for sale, and watch real demand before any bulk buy. Let the market tell you which design is worth scaling.
The print-file basics that make or break it
This is where all the design work is lost if you get it wrong. Rule one is resolution: 300 DPI at the actual print size, not at a small screen size. An image that looks sharp on your phone can come out pixelated on fabric. Rule two is the background: save a PNG with a transparent background so the design prints on its own with no white box around it. Rule three is the print area: every supplier has limits for design width and height, so stay inside them and do not push the design to the edges.
Always design at high resolution from the start. Scaling a small design up later breaks its edges, while scaling a large design down does no harm. Start big and keep an editable master copy.
Why test with print on demand before bulk
Bulk printing ties you to a quantity you paid for upfront, so if the market does not like your design, the stock stays in the box. Print on demand removes that risk: you produce the item after the customer orders and pays, so you can test ten designs and keep the winner with almost no loss. Order a sample of your product too before you list it, to confirm the quality in the real world. If you want the difference between a mockup image and a real sample, read mockups vs samples. And when printing sits inside Saudi Arabia, the sample and the order arrive faster and you watch quality up close through our print on demand service.
The bottom line
Designing a t-shirt that sells is a six-step journey: an idea that speaks to a specific audience, a suitable design tool, a correct print file at 300 DPI with a transparent background inside the print area, colors and placement that serve the message, a realistic mockup, then a test with print on demand before any bulk. Do not let the beauty of the design lead you alone, let the clarity of the message, the cleanliness of the file, and the evidence of the market. For the next step, see how to start print on demand in Saudi Arabia, then start free with Tamm: a store that issues VAT invoices, connects payment gateways, and runs tracking pixels from day one.
Frequently asked questions
- What resolution does a t-shirt print file need?
- Use 300 DPI at the actual print size, and save the file as a PNG with a transparent background. Lower resolution looks pixelated once it prints on fabric.
- What is the best t-shirt design tool for beginners?
- Canva is the easiest start with no experience, Procreate is great for hand drawing on an iPad, and Illustrator is the professional choice because it makes vector art that scales without losing quality.
- How big is the print area on a t-shirt?
- A common front print area is around 30 by 40 cm, so design on a canvas that size, not smaller. Confirm the exact print area with your supplier before you export.
- Should I print a batch before I know the design sells?
- No. Print one or two pieces with print on demand and test real demand first, and only order in bulk after a design proves it actually sells.
- How do I choose design colors against the fabric color?
- Use clear contrast between the design and the fabric, and make one version for light garments and one for dark. Keep the color count low, because a simple design reads from a distance and prints cleaner.