Print on demand
The Complete Guide to Custom Stickers: Materials, Cuts, Launch
A practical guide to designing and selling custom stickers: vinyl, holographic, matte and clear materials, kiss-cut vs die-cut, lamination, sizing, and launching with print on demand.

Custom stickers are one of the lightest and fastest-earning print on demand products: dirt-cheap to make, cheap to ship because they are light and flat, and sold both as a standalone product and as an insert in every parcel. To sell them well, start by choosing the right material (vinyl, clear, holographic, or metallic), then the cut type (die-cut that follows the design shape or kiss-cut that keeps a square backing), add a laminate layer for durability if the use is outdoor, set the size and file resolution, price on real costs, and launch with print on demand so you never buy stock before you know what sells. This practical guide takes you from material to launch: a table of materials, a clear split between cut types, a look at lamination and durability, use cases that build your brand, and numbered launch steps. The core idea is simple: you can build a full sticker brand without tying up a single riyal in inventory that may never move.
Why stickers are a smart product to sell
A sticker combines advantages that rarely meet in one product. Its base cost is among the lowest in print on demand, so the margin stays comfortable even at a small price. It is light and flat, so shipping is almost negligible next to apparel or mugs, and there are no returns over size because it has none. It is a dual product: sold as a standalone piece that fans collect and stick on their things, and dropped free inside a parcel to surprise a customer and build loyalty. Add that it is a low price entry point that wins a first purchase without hesitation, after which the customer comes back for pricier products. The result is a product that is cheap to make, easy to ship, and versatile. To widen your product line after stickers, see the best print on demand products.
Sticker materials
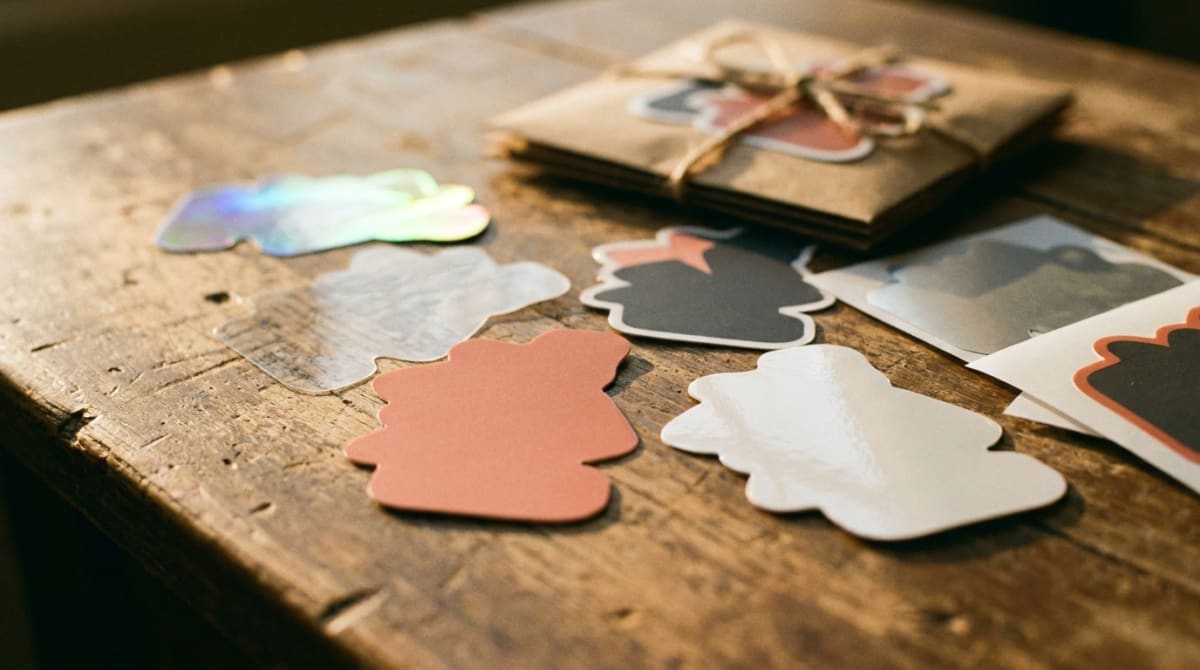
A smart choice starts with knowing which material serves your design and the surface it will stick to, because each has its own look and limits. White vinyl is the top seller because it renders colors accurately and takes a laminate. Clear melts into the surface so the design looks printed directly on it. Holographic reflects shifting colors that grab attention, and metallic gives a premium shine for brands.
| Material | Look | Durability | Best for |
|---|---|---|---|
| White vinyl | Glossy or matte, accurate color | High with laminate | Best seller, colorful designs |
| Clear | Surface shows under the design | High with laminate | Glass, logos with no background |
| Holographic | Reflective, shifting colors | High | Attention, limited editions |
| Metallic | Gold or silver shine | Medium to high | Brands, premium details |
Matte reduces glare and looks more premium and photographs better, while glossy makes colors pop. Choose by the brand's mood and the target surface.
Die-cut vs kiss-cut
The cut type changes the shape of the sticker and how it is used, and it is a decision that comes before printing. Die-cut follows the design's outline exactly, so the sticker comes out in its own shape with no extra border and looks like part of the surface. Kiss-cut cuts only the vinyl layer and keeps a rectangular backing, which makes the sticker easy to peel and looks cleaner on sheets that group several stickers.
Choose die-cut for a single sticker sold as a piece, and kiss-cut for sheets that hold several stickers or for packaging that needs an easy peel. Many brands sell both for different purposes.
Lamination and durability
Durability is a question every buyer asks, so answer it clearly on the product page. A laminate layer is a thin clear film applied over the print that protects it from water, scratches, and sun, turning an ordinary sticker into one that survives on a water bottle, a car, or a laptop for years. Without it, a sticker is for indoor packaging only and cannot handle moisture. Glossy laminate makes colors pop, while matte cuts glare and looks more premium. Write honestly on the product where the sticker survives and where it does not, because that reduces returns and builds the trust that brings a customer back. A well-laminated sticker justifies a higher price than a cheap paper one.
Use cases that build your brand
A sticker is not one product but a versatile marketing tool. Sell it as a standalone piece your audience collects and sticks on their things, turning it into mobile advertising. Drop it free inside every parcel as a packaging touch that surprises the customer, an idea expanded in custom packaging ideas. Add it as a small gift with larger orders or as a cheap paid add-on that lifts the cart value. Hand it out at fairs and events as a stick-on business card that stays with people. And if you are a content creator, a sticker is the cheapest product to test your audience's demand before scaling, as covered in selling merch for content creators.
Sizes and file setup
The size follows where it will be applied. A single sticker usually runs between 5 and 10 cm so the design reads clearly without getting large, and smaller sizes suit packaging, codes, and parcel seals. Prepare your file at 300 DPI so edges stay sharp after printing, and work with a transparent background if the cut follows the design shape. Leave a safe margin around important elements so the cut line does not clip them, and avoid very fine text at small sizes. The print-file rules here are close to those for apparel, explained in how to design a t-shirt that sells. Try two sizes and test which sells before you scale.
How to price a custom sticker
Price is not a guess. Add every cost that touches the sticker: the vinyl, the laminate, the printing and the cut, the backing, the packaging that keeps it from bending, shipping, payment gateway fees, and each sale's share of your marketing budget. Then add a margin that lets you grow, not just break even. Because a sticker's cost is low, selling it as a pack or as sheets that group several designs raises the average cart with a higher margin than a single piece. The advantage of print on demand is that your item cost is known in advance, so you calculate your margin precisely before you sell a thing. The value you built into the design and the good material is what justifies your number, not the lowest price on the market.
Five steps to launch your sticker with print on demand
- Choose the material and cut. Pick a material that serves your design (white vinyl for most starts) and a cut that fits your use, die-cut for a standalone piece and kiss-cut for sheets and packaging.
- Design at enough resolution. Prepare a 300 DPI file with a transparent background, and leave a safe margin around important elements.
- Decide on lamination. Add a laminate layer if the use is outdoor on bottles or cars, and state water and scratch resistance in the product description.
- Price on real costs. Add the material, printing, cut, packaging, shipping, payment gateway fees, and marketing's share, then add a margin, and consider packs that lift the cart.
- Launch with no inventory. Publish the sticker for sale, and each one is printed after the customer orders and pays, so you test several designs and keep the winner with no loss. To understand the model in depth, see what is print on demand.
Conclusion
Custom stickers are a smart product because they are cheap to make, light to ship, and sold both as a standalone piece and as an insert that builds customer loyalty inside every parcel. To sell them well, choose the material that serves your design and surface, decide between die-cut and kiss-cut, add laminate for durability when needed, set the size and file resolution, price on real costs, and launch with print on demand so you test your designs with no inventory and no risk. Start small with one material and one design, and let the market tell you which design deserves to scale. For the next step, start free with Tamm, and leave the storage and shipping to us while you focus on the brand.
Frequently asked questions
- What sticker materials are there?
- The four most common are white vinyl (glossy or matte, the top seller), clear that shows the surface underneath, holographic that reflects shifting colors, and metallic for a premium shine. Vinyl with a laminate layer is the most durable for outdoor use.
- What is the difference between die-cut and kiss-cut?
- Die-cut follows the exact shape of the design with no extra border, so it looks like art stuck to the surface. Kiss-cut cuts only the sticker layer and keeps a square backing, which makes it easy to peel and looks cleaner on sheets of stickers.
- Are stickers waterproof?
- Vinyl with a laminate layer resists water, scratches, and sun, so it works on bottles, cars, and laptops. Uncoated paper stickers are for indoor packaging only and cannot handle moisture.
- What size should a sticker be?
- Common single stickers run between 5 and 10 cm, with smaller sizes for packaging and codes. Set the size by where it will be applied, and keep the file at 300 DPI so edges stay sharp.
- Should I print a batch of stickers before I sell?
- No. Start with print on demand, so each sticker is printed after the customer orders and pays. That way you test your designs with no inventory and no risk before any bulk print.